Some cookies look good but don’t taste worth repeating. These are not that kind.
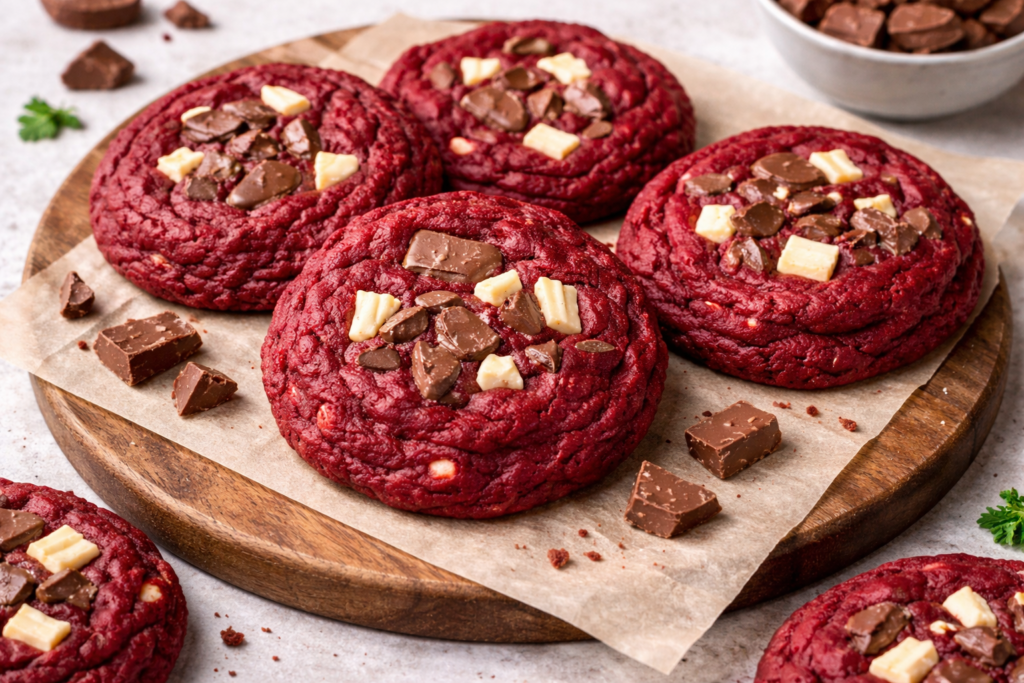
Red velvet cookies already grab attention because of the color, but honestly, color alone doesn’t matter if the texture is wrong. What actually makes these cookies work is how soft they stay in the center while the edges get just enough structure to hold everything together.
You’ll notice something else right away. These aren’t packed with tiny chocolate chips. Instead, they use uneven chunks. That matters more than people think. Smaller chips just sit there. Bigger pieces melt differently, which gives you pockets of soft chocolate instead of uniform sweetness.
Also, these cookies are not overly cakey. That’s where most red velvet recipes fail. They either feel dry or too fluffy. This one stays dense enough to feel like a proper cookie, but still soft enough to bite through without effort.
Jump to RecipeWhy This Recipe Actually Works
There are a few things happening here that you shouldn’t ignore.
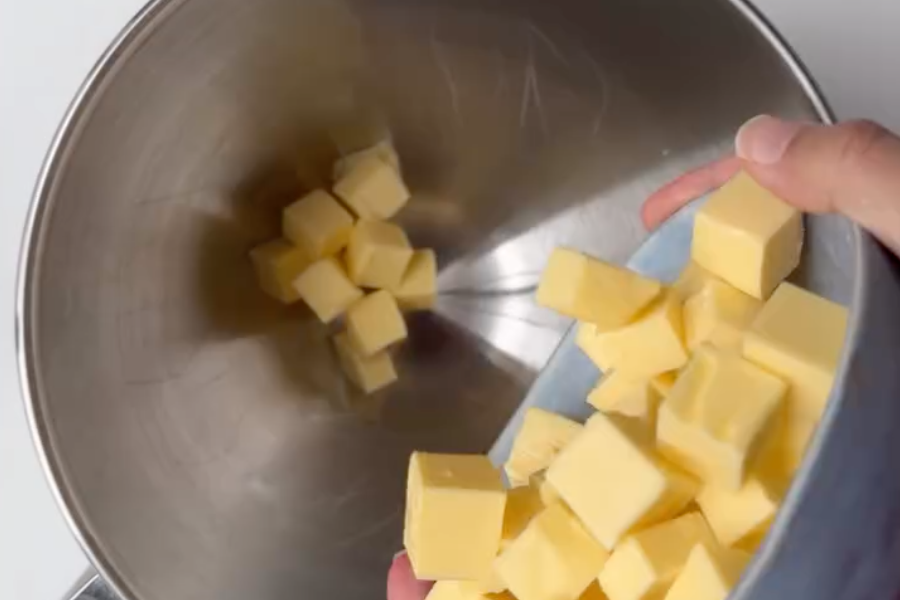
First, the butter isn’t melted. That alone changes everything. Melted butter spreads too fast and gives flat cookies. Softened butter gives control, which means better thickness and structure.
Second, the sugar mix matters. Brown sugar adds moisture and chewiness. White sugar helps create slight crisp edges. If you remove one, the texture shifts completely.
Another point is mixing. Most people either overmix or rush it. Overmixing makes cookies tougher. Undermixing leaves uneven dough. You need to stop at the point where everything just comes together, not beyond that.
And then there’s baking time. If you’re waiting for the cookie to look fully done inside the oven, you’ve already gone too far. These should look slightly soft in the center when you take them out.
Ingredients
For the dough:
- 1 cup (225 g) unsalted butter, softened
- 1 cup brown sugar
- ½ cup granulated sugar
- 2 eggs
- 1 tsp vanilla extract
- Red food coloring
Dry ingredients:
- 2½ cups all purpose flour
- 2 tbsp cocoa powder
- 1 tsp baking soda
- ½ tsp salt
Mix-ins:
- ½ cup white chocolate chunks
- ½ cup milk chocolate chunks
Instructions
Step 1: Cream the butter
Add softened butter to a bowl and mix until smooth. It shouldn’t be melted or runny. Then add both sugars and mix until combined. Don’t aim for overly fluffy, just evenly mixed.
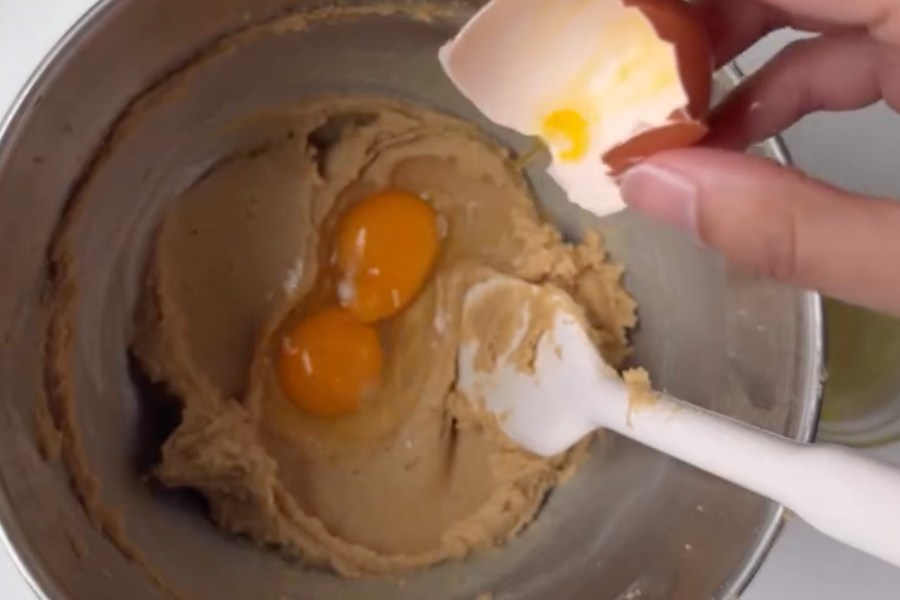
Step 2: Add eggs
Add eggs one at a time. Mix after each one. The mixture should start looking smooth and slightly glossy.
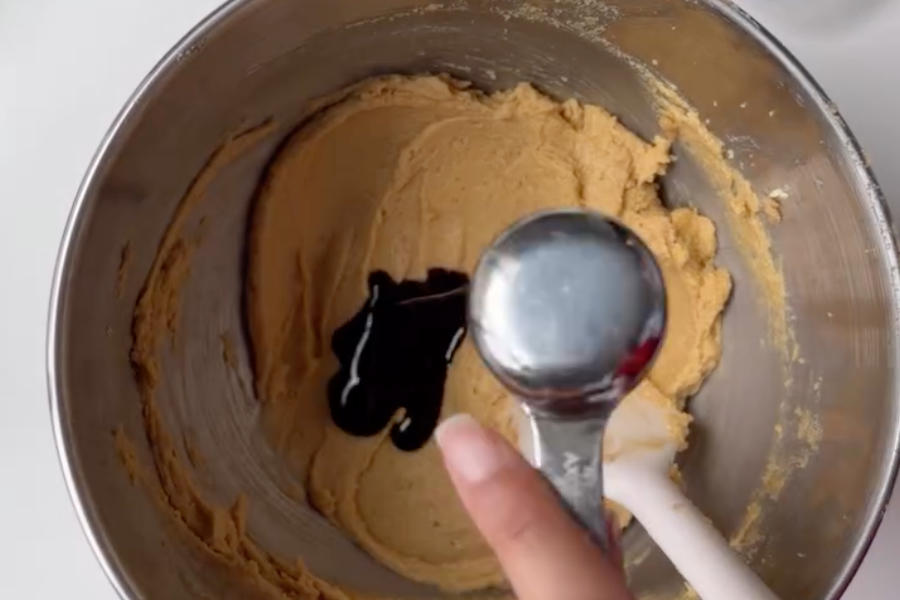
Step 3: Add vanilla and color
Mix in vanilla extract. Then add red food coloring slowly until you get a strong, even color. If it looks patchy, keep mixing.
Step 4: Mix dry ingredients
In a separate bowl, combine flour, cocoa powder, baking soda, and salt. This step prevents uneven distribution later.
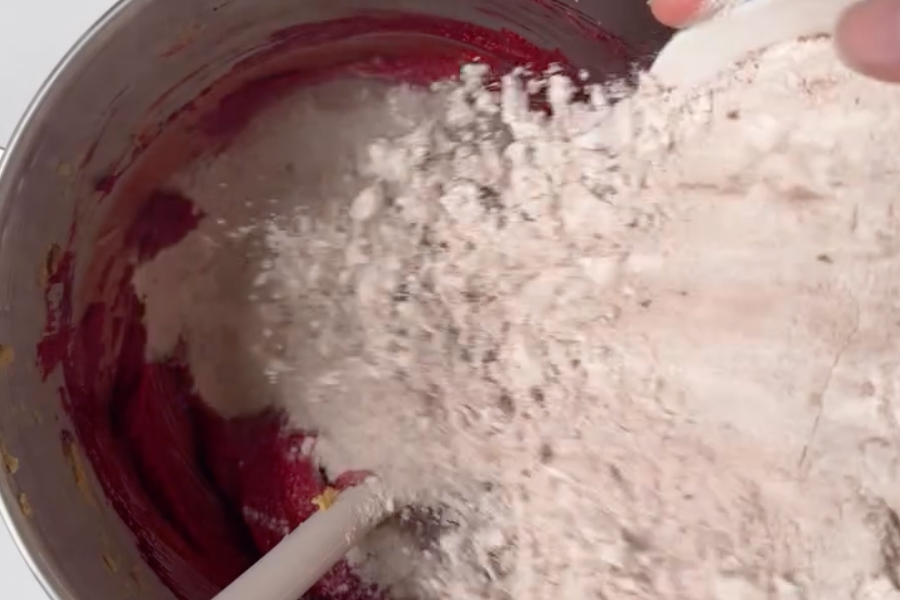
Step 5: Combine everything
Add dry ingredients into the wet mixture in parts. Fold gently. Once no dry flour is visible, stop mixing.

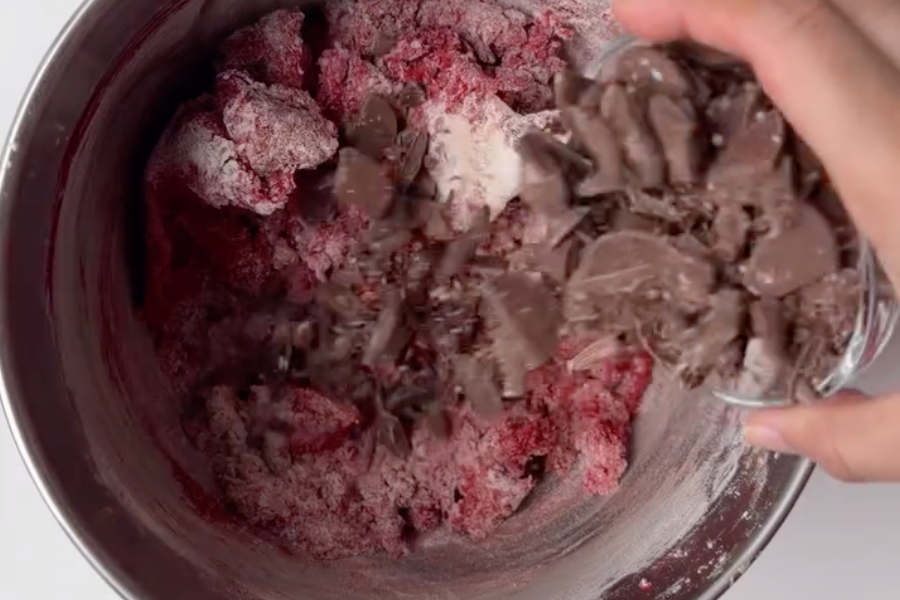
Step 6: Add chocolate
Fold in chocolate chunks. Don’t overwork the dough here.
Step 7: Shape
Scoop dough into balls and place them on a lined tray. Keep space between each one because they will spread slightly.
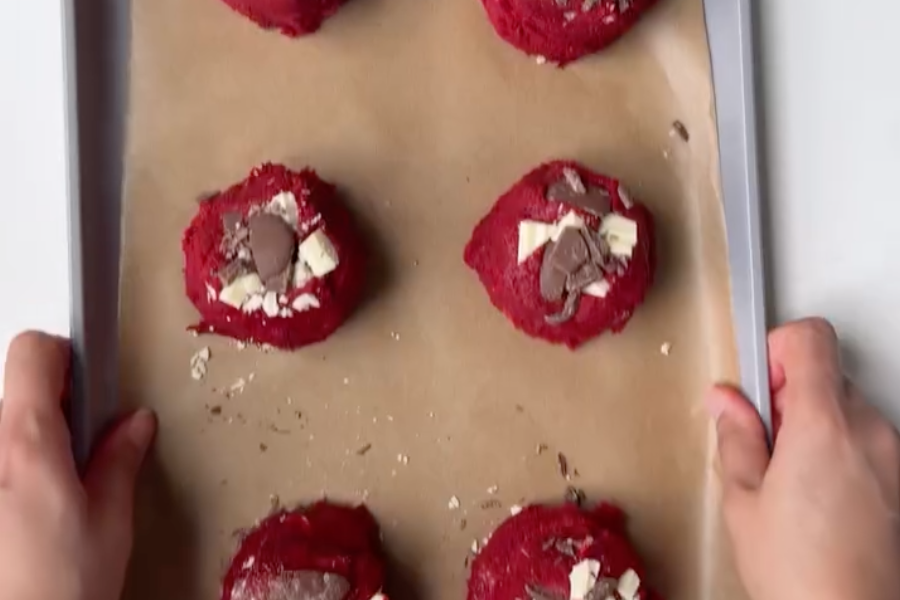
Step 8: Add topping
Press a few extra chocolate pieces on top. This is for both look and texture.
Step 9: Bake
Bake at 180°C (350°F) for about 10 to 12 minutes. Edges should look set. Center should still look soft.
Step 10: Rest
Let cookies sit on the tray for a few minutes before moving them. This step helps them firm up properly.
Common Mistakes
Using melted butter ruins structure. You’ll get thin cookies.
Adding too much flour makes them dry and dense.
Overbaking removes softness completely. This is the biggest mistake.
Skipping spacing leads to cookies merging into each other.
Tips That Actually Matter
If your kitchen is warm, chill the dough for 20 minutes. This prevents spreading.
Use chocolate chunks, not chips. Chips don’t melt the same way.
Slightly press the cookies after baking if you want a flatter, bakery style look.
Add a small pinch of salt on top after baking. It improves overall flavor more than expected.
Serving
These are best when slightly warm. The chocolate stays soft and the texture is at its peak.
If you’re serving later, reheat for a few seconds instead of eating them cold.
Storage
Keep in an airtight container at room temperature for 2 to 3 days.
If refrigerating, warm slightly before eating or they’ll feel firm.
You can freeze the dough and bake fresh whenever needed.
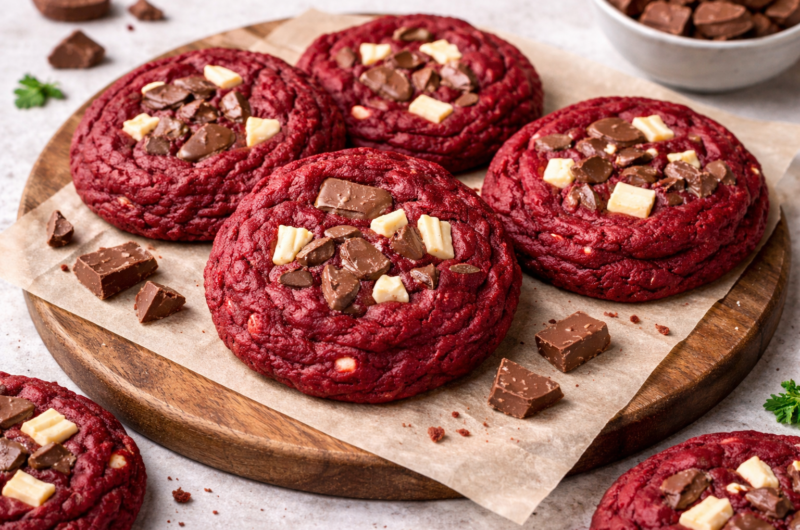
Red Velvet Chocolate Chunk Cookies
Course: SnacksCuisine: AmericanDifficulty: Easy4
servings30
minutes40
minutes220 per cookie
kcalIngredients
1 cup (225 g) unsalted butter, softened
1 cup brown sugar
½ cup granulated sugar
2 eggs
1 tsp vanilla extract
Red food coloring
2½ cups all purpose flour
2 tbsp cocoa powder
1 tsp baking soda
½ tsp salt
½ cup milk chocolate chunks
½ cup white chocolate chunks
Directions
- In a large bowl, beat softened butter until smooth. Add brown sugar and granulated sugar, then mix until fully combined and slightly creamy.
- Add eggs one at a time, mixing after each addition. Stir in vanilla extract and mix until smooth.
- Add red food coloring gradually and mix until the dough turns evenly deep red.
- In a separate bowl, whisk together flour, cocoa powder, baking soda, and salt.
- Add the dry ingredients into the wet mixture in parts. Fold gently until just combined. Do not overmix.
- Fold in white and milk chocolate chunks evenly through the dough.
- Scoop dough into equal portions and place on a lined baking tray, leaving space between each.
- Press extra chocolate chunks on top of each dough ball for better texture and appearance.
- Bake in a preheated oven at 180°C (350°F) for 10–12 minutes, until edges are set and centers are still soft.
- Let cookies rest on the tray for 5 minutes, then transfer to a rack. Serve warm or at room temperature.
Notes
- Use softened butter only
Do not overmix after flour
Slightly underbake for best texture
Use chocolate chunks for better melt
Chill dough if spreading too much
Add extra chocolate on top before baking